Thursday 7 April 2016

Cutting creations!


It's the Easter holidays and it's raining, again! I needed something to entertain all the children from 3 years old to 7 (the baby was having his morning nap) I thought it would be interesting to see what my new little girl's cutting skills were like so I printed out some cutting worksheets from Sparklebox. But I thought the activity needed more of a purpose than just cutting for the sake of cutting so I thought we could use the strips we had cut to make creatures from our imagination.

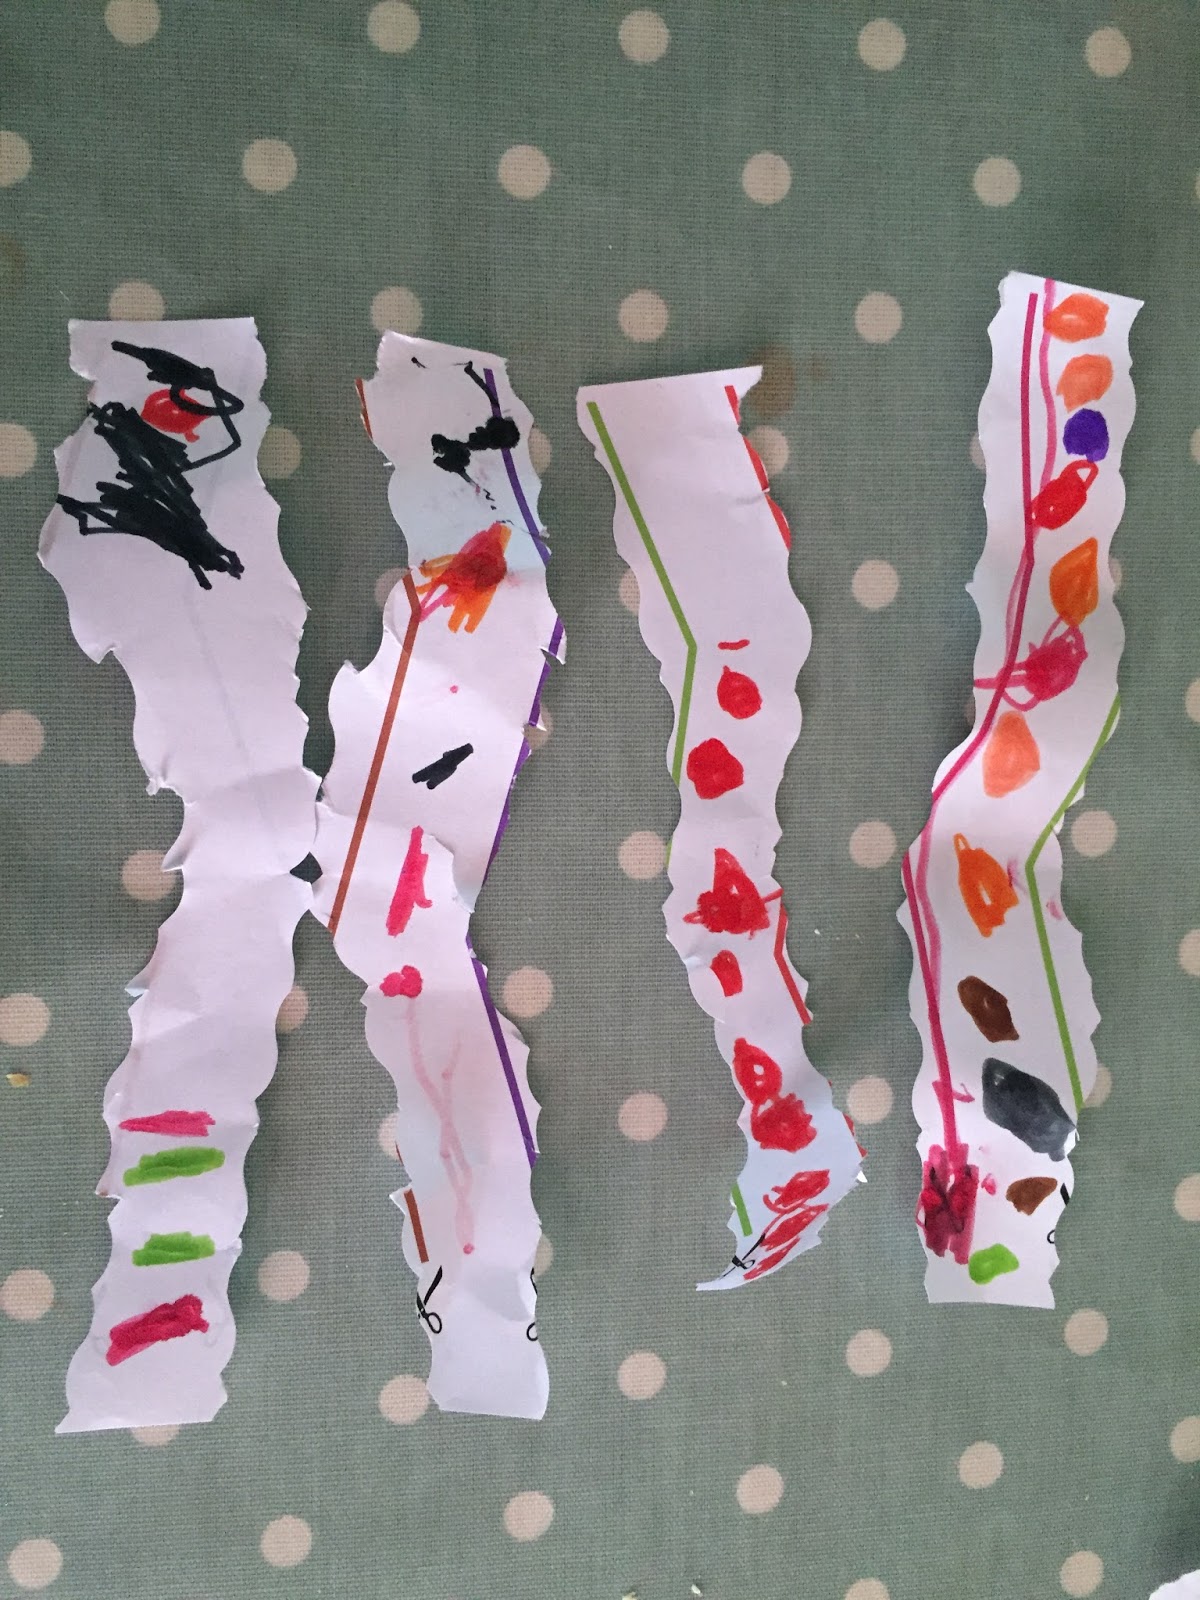
We got out our scissor selection and our big pot of felt tips and got to work cutting along the lines. I gave the 3 year old the slightly easier lines with the least sharp angles and the older children had the trickier ones. We cut along the lines so that we ended up with thin, wavy, zig-zagy or straight strips. Then I asked the children to look at their strips and try to imagine what kind of creature or person they could be. The 3 year old found this tricky and ended up making patterns on her strips:


My 5 year old daughter was keen to think of creatures and she came up with a lady, a worm and a snake:


Joshua (aged 7) also made a snake. Then he decided he wanted a Star Wars theme for the rest. He thought of making Anakin Skywalker but realised it was quite tricky so he thought he would make Anakin's light sabre instead. When he had finished I picked it up and started swinging it around making light sabre noises and he realised he needed more than one. He decided he would make a light sabre in each colour so we could use them to have a battle!


It was also a good opportunity to practise name writing as the children needed an envelope each to put their bits into. My two can both write their names now but it was a good chance for Joshua to practise joining up. The 3 year old I childmind needs lots of opportunities to practise this new skill as she is not yet able to copy her name so I wrote her it in pencil on the envelope and let her pick a coloured pen to trace over the letters.


This activity kept the children busy for about 40 minutes and they all really enjoyed using their imaginations to come up with ideas while still developing their cutting skills, pencil control, colour recognition and language skills.

Friday 1 April 2016

Making Easter Nests


Since Easter came right at the end of the school term I decided to hold off making the traditional Easter nests until now so that my two could join in the fun in the school holidays! They are always a firm favourite and since they don't really require any cooking (unless you count melting chocolate as cooking?) they are really easy to do with the littlies!

So here's how we did it:

You will need:
200g bar of chocolate (whatever kind you like really but we went for milk chocolate
Rice Krispies (you can use Shredded Wheat if you prefer that genuine nest effect but I find the children aren't really keen plus then you have a whole box left that nobody wants to eat!)
1 medium sized bag of mini eggs
Cupcake cases
Fluffy yellow chicks - these are available in craft stores and some supermarkets
A heatproof bowl
A saucepan of simmering water
A spatula or wooden spoon
Children - optional!
(With 200g of chocolate we got 22 cakes)


1. Have the children brake the chocolate into chunks and place them into a heat proof bowl. (Here's Joshua forgetting they needed to go into the bowl. He seems to be looking longingly at them!)


2. Place the bowl over a saucepan of simmering water (HINT: do not let the water touch the bowl or it won't work!) Stir the lumps around occasionally until they've completely melted.


3. Pour in some Rice Krispies. I didn't measure out a particular quantity. I just added some at a time and if they were very heavily coated in chocolate I would add some more until it looked like they were all coated nicely. The children loved stirring them in and this was a good opportunity to talk about taking turns!


4. With teaspoons, let the children fill their cake cases with the mixture then press the centres down with their thumb to make a little well.


5. Then let them place one little chick and 2-3 mini eggs (depending on how many you have!)


6. We then let them set in the fridge and ate some after our lunch. Here's a little box I put together for my childminded children to take some of theirs home as we had so many!

Enjoy!!!